Advanced Fruiting Techniques
10 tips in Fruiting & Harvest
By Andrew Langevin · Founder, Nature Lion Inc · Contributing author, Mushroomology (Brill, 2026)
Force fruiting shiitake involves combining a cold shock with a physical shock to trigger an immediate flush on demand. This technique is standard in commercial shiitake production and allows growers to schedule harvests predictably rather than waiting for spontaneous fruiting.
The force fruiting process:
- Ensure the block has completed browning — the surface should be bumpy and brown, indicating mature mycelium ready to fruit
- Submerge the block in cold water (thirty-six to fifty degrees Fahrenheit) for twelve to twenty-four hours. Use ice or a refrigerator to maintain cold temperatures throughout the soak
- After soaking, physically shock the block by slapping it firmly against a hard surface two to three times or dropping it from waist height onto a clean floor
- Place the block in fruiting conditions with eighty-five to ninety percent humidity, good FAE, and a twelve-hour light cycle
The cold soak rehydrates the substrate while triggering the temperature-dependent fruiting response. The physical impact ruptures cellular structures in the mycelium, releasing compounds that further stimulate primordia formation.
Pins typically appear within four to seven days after force fruiting. This technique can be repeated every three to four weeks for multiple flushes, allowing commercial operations to stagger their blocks and maintain consistent weekly production.
Bubble wrap tek is a remarkably effective technique for improving pinset density and evenness by creating a consistent humid microclimate directly at the substrate surface. While simple in concept, understanding the details makes the difference between good results and great ones.
Complete bubble wrap tek guide:
- Material selection — Use standard small-bubble bubble wrap (quarter-inch bubbles work best). Large-bubble wrap creates too few contact points and does not regulate humidity as effectively
- Sizing — Cut the sheet to fit inside your tub with a one-inch gap around all edges. This gap allows some air exchange and prevents anaerobic conditions
- Placement — Lay it bubble-side down directly on the colonized substrate surface. The bubbles create hundreds of tiny humid chambers against the mycelium
- Monitoring — Check under the wrap daily by lifting one corner. You should see condensation on the underside and tiny primordia forming within three to seven days
- Removal timing — Remove the bubble wrap once pins reach three to five millimeters tall. Leaving it longer traps excess moisture and promotes bacterial growth
Why it works so well:
- Each bubble traps a pocket of humid air against the substrate surface, maintaining near one hundred percent humidity at the critical pinning zone
- Surface evaporation is dramatically reduced, preventing the dry patches that cause uneven pinsets
- The wrap does not block light, so the photoperiod cue remains active
This technique is especially valuable in dry climates or during winter when indoor heating drops ambient humidity below forty percent.
The orientation and location of fruiting on a block significantly affects mushroom morphology, yield, and harvest convenience. Top-fruiting and side-fruiting are the two primary approaches, and each suits different species and production goals.
Top-fruiting:
- Cut the bag open across the top or remove the block from the bag entirely and place it on a tray
- Mushrooms emerge from the exposed upper surface
- Best for species that form single large clusters like lion's mane or that benefit from even, horizontal cap development
- Easier to harvest and produces more uniform shapes
- Requires good overhead humidity and light
Side-fruiting:
- Cut X-shaped slits or small holes in the sides of the bag while the top remains sealed
- Mushrooms emerge horizontally from the side openings
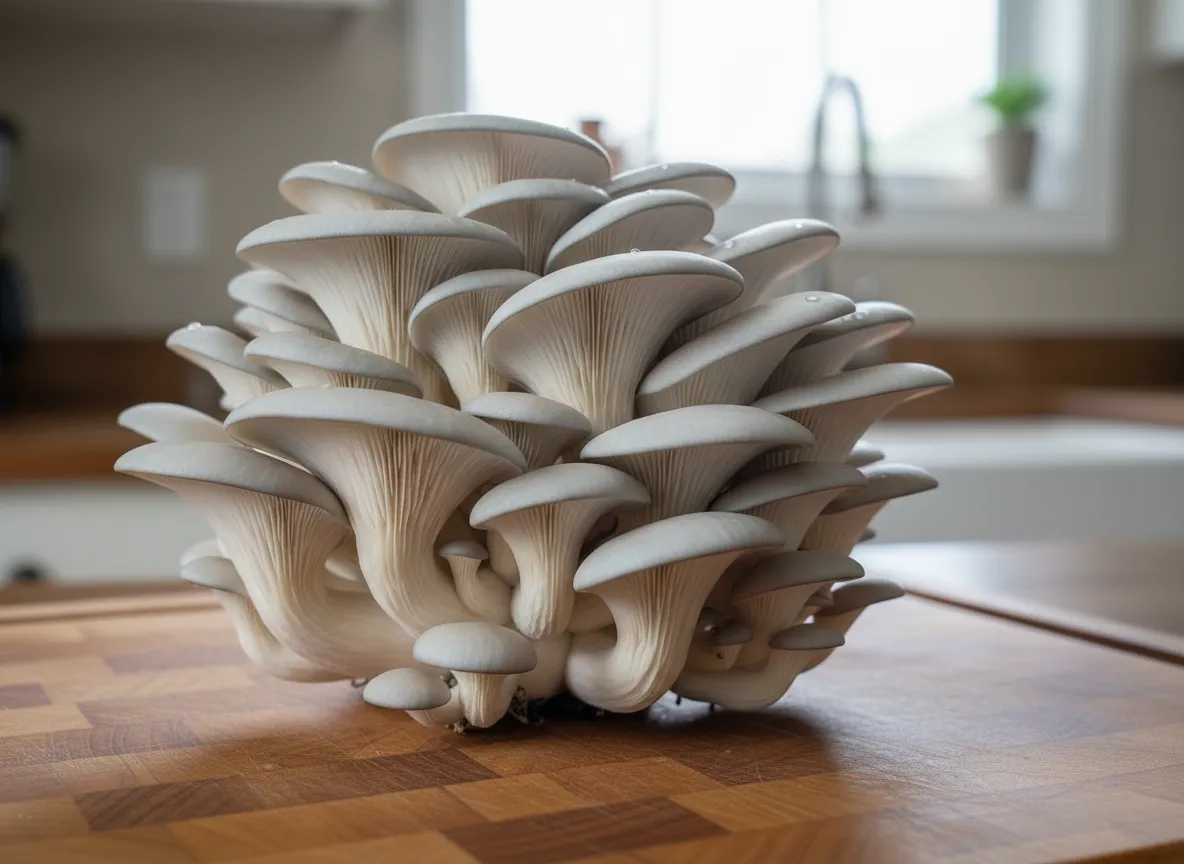
- Best for oyster mushrooms, which naturally fruit from side openings on logs and stumps
- Produces dramatic shelf-like clusters that hang downward from the cut points
- Multiple cuts allow several clusters per block
Species-specific recommendations:
- Oyster mushrooms — side-fruit for best morphology and yield
- Lion's mane — top-fruit for the largest single fruit body
- Shiitake — either works; top-fruiting produces more even caps while side-fruiting from slits produces clusters
- King oyster — top-fruit with a casing layer for the thickest stems
CO2 concentration is one of the most powerful environmental variables for controlling mushroom morphology and yield, and optimal levels vary dramatically between species. Getting CO2 right can mean the difference between a beautiful harvest and a tray of malformed stems.
Optimal CO2 levels by species:
- Oyster mushrooms (Pleurotus ostreatus) — Below 800 ppm for normal cap development. Above 1500 ppm produces severely elongated stems with tiny caps. Oysters are the most CO2-sensitive cultivated species
- King oyster (Pleurotus eryngii) — 2000-3000 ppm during stem elongation to produce thick, meaty stems; drop below 1000 ppm in the final days for cap expansion
- Lion's mane — 500-1000 ppm for single pom-pom formation. Higher CO2 causes branching into multiple smaller clusters
- Shiitake — 1000-2000 ppm is tolerable; below 1000 ppm produces the best cap quality
- Reishi — Above 3000 ppm produces antler form; below 1000 ppm produces shelf (conk) form
- Maitake — Below 1000 ppm for proper frond development
An NDIR CO2 meter is the most useful diagnostic tool you can add to your setup once you move beyond beginner level. Models in the thirty to one hundred dollar range provide accurate readings. Without a meter, observe mushroom morphology — stretched stems and small caps always indicate excessive CO2.
Fruiting multiple species in one room is possible but requires strategic grouping based on shared environmental preferences. The main challenge is that different species have different temperature, humidity, and CO2 requirements, so compromises are necessary.
Grouping strategy:
- Cool-weather, high-FAE group — Blue oyster, shiitake, and maitake share similar preferences for temperatures around fifty-five to sixty-five degrees and aggressive ventilation
- Moderate group — Lion's mane, pearl oyster, and chestnut mushrooms do well together at sixty-five to seventy-five degrees with moderate FAE
- Warm-weather group — Pink oyster, yellow oyster, and reishi prefer seventy to eighty-five degrees
- Never combine — King oyster (needs high CO2) with regular oysters (need very low CO2) in the same enclosed space
Practical tips for multi-species rooms:
- Place species needing more FAE closer to exhaust fans or ventilation openings
- Position humidity-sensitive species like lion's mane near the humidifier output
- Use shelving height to your advantage — warm air rises, so place heat-loving species on upper shelves
- Stagger your production schedule so species with conflicting needs are not fruiting simultaneously
Accept that no single environment will be perfect for every species. The goal is finding a reasonable compromise that produces acceptable results across your lineup.
Biological efficiency (BE) is the standard metric for measuring mushroom yield relative to the dry weight of the substrate used. It is expressed as a percentage and allows growers to compare productivity across different substrates, species, and techniques in a standardized way.
The formula:
- BE = (fresh weight of mushrooms harvested / dry weight of substrate) x 100
For example, if you harvest two pounds of fresh oyster mushrooms from a block made with one pound of dry substrate, your BE is two hundred percent. A BE over one hundred percent is possible because fresh mushrooms are roughly ninety percent water.
Typical BE ranges by species:
- Oyster mushrooms — 75-200% on supplemented sawdust; the highest of any cultivated species
- Shiitake — 75-125% on supplemented hardwood sawdust
- Lion's mane — 50-100% depending on substrate and supplementation
- King oyster — 50-90% with lower yields per block than regular oysters
- Maitake — 30-60% with significantly longer production cycles
To improve your BE:
- Optimize supplementation rates (typically five to fifteen percent wheat bran or soy hull by dry weight)
- Ensure substrate is at proper moisture content (sixty to sixty-five percent)
- Maintain ideal fruiting conditions and harvest across multiple flushes
- Use vigorous, commercially selected genetics rather than multispore cultures
Maximizing yield per flush comes down to optimizing four interconnected factors: substrate nutrition, hydration, environmental conditions, and genetics. Each factor contributes to the total energy available for mushroom production and how efficiently the mycelium converts that energy into fruit bodies.
Substrate optimization:
- Supplement wisely — Add five to fifteen percent wheat bran, soy hull, or other nitrogen source to your base substrate. Under-supplementation limits yield; over-supplementation invites contamination
- Proper moisture content — Target sixty to sixty-five percent moisture by weight. Too dry starves developing pins; too wet promotes bacteria
- Appropriate spawn rate — Use ten to twenty percent spawn to substrate by weight for fast, thorough colonization
Environmental optimization:
- Maintain steady humidity at eighty-eight to ninety-two percent throughout fruiting
- Provide adequate FAE without excessive drying — use a humidifier paired with exhaust fan on a cycle timer
- Keep temperatures stable within the optimal range for your species
- Ensure even surface conditions — level substrate, uniform light, and consistent airflow across the entire fruiting surface
Genetic selection matters enormously. Commercial isolates selected for productivity can produce two to three times the yield of random multispore cultures. If your technique is solid but yields plateau, upgrading your culture is the single highest-impact change you can make.
Abnormal mushroom shapes are almost always environmental signals rather than genetic defects or disease. Mushrooms are remarkably responsive to their surroundings, and unusual morphology is their way of telling you something is off in your fruiting conditions.
Common abnormalities and their causes:
- Long stems with tiny caps — Too much CO2 and not enough fresh air exchange. The mushroom is stretching toward fresh air. Increase FAE immediately
- Curled or wavy cap edges — Humidity too low. Caps dry and curl when relative humidity drops below eighty percent
- Splitting or cracking caps — Extreme low humidity or excessive direct airflow drying the cap surface
- Rosette or coral-like clusters instead of normal caps — Very high CO2 combined with insufficient light
- Multiple small fruit bodies instead of one large one — Common with lion's mane when CO2 is elevated; also occurs when substrate nutrition is limited
- Fuzzy bases (fuzzy feet) — High CO2 at the substrate surface; increase bottom ventilation
- Bruised or discolored patches — Physical damage, water droplets sitting on caps, or temperature stress
The key diagnostic principle: mushrooms grow toward fresh air and light, and away from CO2. Any stretching, bending, or reaching behavior points to an airflow or light imbalance. Misshapen caps and surface defects typically indicate humidity or temperature problems. Fix the environment and the next flush will look normal.
Cold-tolerant species can fruit successfully through winter without supplemental heating by leveraging naturally cool indoor spaces and choosing the right genetics. This approach saves significant energy costs and works surprisingly well in basements, garages, and unheated rooms that stay above freezing.
Best species for unheated winter fruiting:
- Blue oyster — Fruits aggressively at temperatures as low as forty-five degrees Fahrenheit, making it the ideal winter species
- Enoki (velvet foot) — Actually prefers cold conditions and fruits best at forty to fifty degrees
- Cold-weather shiitake strains — Some strains are selected specifically for fruiting at fifty to sixty degrees
- Nameko — Tolerates cool conditions well and produces at fifty to sixty degrees
Winter fruiting strategies:
- Use a basement — Underground spaces naturally maintain forty-five to sixty degrees even in harsh winters
- Insulate your fruiting chamber — A well-insulated monotub or tent retains the metabolic heat generated by colonized substrate, which can raise internal temperature five to ten degrees above ambient
- Group blocks together — Multiple colonized blocks in an enclosed space generate collective metabolic warmth
- Accept slower growth — Cold fruiting takes longer but often produces denser, higher-quality mushrooms with better shelf life
Avoid species that need warmth — Pink oyster, yellow oyster, and reishi will not fruit below sixty-five degrees regardless of other conditions.
First flush mushrooms are almost always the highest quality, with subsequent flushes showing predictable changes in size, density, appearance, and flavor. Understanding these differences helps you set realistic expectations and optimize your harvest strategy.
First flush characteristics:
- Largest yield — Typically forty to fifty percent of total lifetime production
- Best appearance — Uniform size, smooth caps, ideal coloring
- Densest texture — Highest dry matter content relative to water weight
- Strongest flavor — More concentrated flavor compounds
- Most even pinset — Pins form uniformly across the surface
Second flush characteristics:
- Reduced yield — Usually twenty-five to thirty-five percent of total
- Slightly irregular shapes — Pinset is less even, producing a wider size range
- Good quality overall — Still excellent for eating and selling
- Faster development — Pins to harvest may be slightly quicker than first flush
Third flush and beyond:
- Significantly reduced yield — Fifteen to twenty percent of total and declining
- Smaller individual fruits — Fewer nutrients available per mushroom
- Higher contamination risk — Weakening substrate becomes vulnerable to competitors
- Altered morphology — Caps may be thinner, colors lighter, stems less sturdy
For commercial growers, many operations only harvest two flushes before composting the substrate, as the labor cost of managing diminishing third and fourth flushes often exceeds the value of the mushrooms produced.
Need more help? Dr. Myco can answer follow-up questions about advanced fruiting techniques based on thousands of real growing experiences.
Ask Dr. Myco