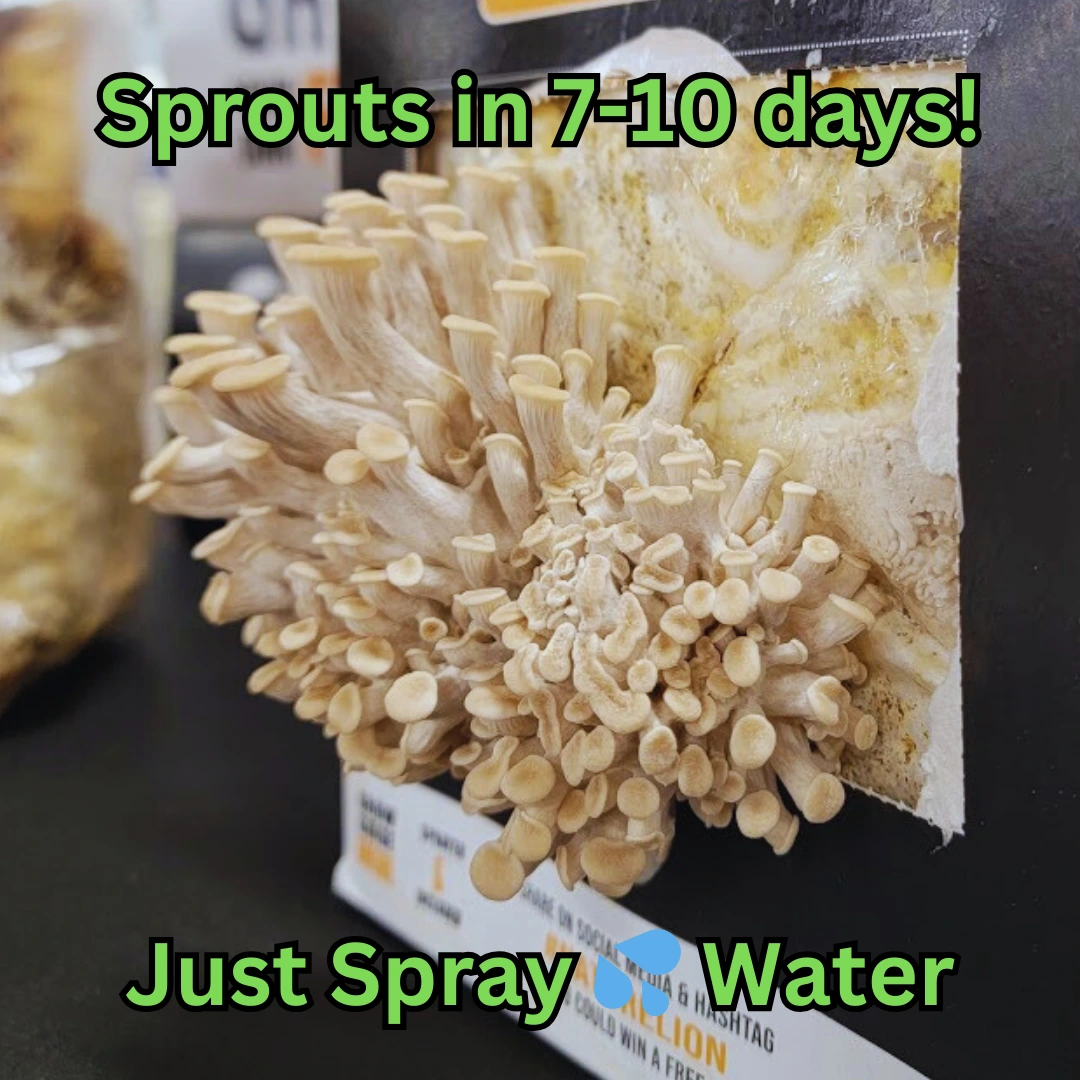
Outdoor & Garden Growing
14 tips in Getting Started
By Andrew Langevin · Founder, Nature Lion Inc · Contributing author, Mushroomology (Brill, 2026)
Growing mushrooms outdoors in your backyard is one of the most low-maintenance ways to cultivate fungi at home. The key is choosing a shady, sheltered spot with consistent moisture — think under trees, along fences, or beside a north-facing wall where rain and dew naturally collect.
The most accessible outdoor methods for backyard growers:
- Wood chip beds — layer spawn with fresh hardwood chips in a shallow bed and let nature do the work
- Log cultivation — drill holes in freshly cut hardwood logs, fill with plug or sawdust spawn, and seal with wax
- Straw bales or buried buckets — inoculate and place in a shady corner
Species that do especially well outdoors include wine cap, oyster, and shiitake. These species tolerate fluctuating temperatures and benefit from natural rainfall.
To get started, select your species, obtain spawn from a reputable supplier, and prepare your substrate outdoors in spring or early fall. Water your outdoor patch during dry spells just as you would a garden bed. Most backyard mushroom patches begin producing within two to six months and can continue fruiting for several years with minimal care.
Yes, log cultivation is one of the oldest and most reliable ways to grow mushrooms outdoors. Shiitake, oyster, lion's mane, and nameko all thrive on freshly cut hardwood logs. The logs provide a long-lasting food source that can produce mushrooms for three to seven years once fully colonized.
The basic log cultivation process:
- Cut or source hardwood logs (oak, maple, beech, or birch) that are three to eight inches in diameter and three to four feet long
- Use logs cut within the last two to four weeks — too fresh and the tree's natural defenses resist the mycelium, too old and competing fungi have already moved in
- Drill a diamond pattern of holes about six inches apart and one inch deep
- Fill each hole with plug spawn or sawdust spawn
- Seal each hole with food-grade cheese wax or beeswax to retain moisture
Stack or lean your inoculated logs in a shady, humid spot in the garden. They need consistent moisture, so water them during dry periods. Colonization takes six to eighteen months depending on species and conditions, but once established, logs fruit reliably each spring and fall with almost no intervention.
Very few mushroom species fruit continuously through all four seasons, but with the right selection you can stagger harvests to cover most of the year. The key is planting multiple species with different temperature preferences so that something is always in season.
Year-round outdoor strategy by season:
- Spring — wine cap (king stropharia) and oyster mushrooms fruit as temperatures rise above 50 degrees Fahrenheit
- Summer — pink oyster tolerates heat, and wine cap continues producing in shaded, moist beds
- Fall — shiitake, nameko, and blue oyster thrive in cool fall conditions with natural rain
- Winter — velvet foot (enokitake) and some oyster strains can fruit through mild freezes, and brick cap tolerates cold snaps
In mild climates (USDA zones 7 through 10), outdoor mushroom production can be nearly continuous with proper species selection. In colder zones, expect a dormant period from late December through February when most mycelium rests underground or inside logs.
The most important factor is maintaining multiple patches and log stacks with different species. Diversity in your outdoor mushroom garden is what creates a reliable year-round harvest.
A wood chip mushroom bed is one of the easiest and most productive outdoor growing methods available. Wine cap (king stropharia) and oyster mushrooms are the best species for this technique because they aggressively colonize fresh hardwood chips.
Step-by-step process:
- Choose a shady location about three to four feet wide and as long as you like
- Lay down a layer of cardboard to suppress weeds and retain moisture
- Spread a two-inch layer of fresh hardwood chips (avoid cedar, walnut, and pine)
- Crumble grain or sawdust spawn evenly over the chip layer
- Add another two-inch layer of chips on top
- Repeat for a total bed depth of four to six inches
- Water thoroughly and cover with a light layer of straw mulch to hold moisture
Fresh chips from a local arborist are ideal — services like Chip Drop will deliver free loads. Avoid dyed or chemically treated landscape mulch. Water the bed during dry spells to keep it consistently damp but not waterlogged.
Colonization takes two to four months, and the first mushrooms typically appear the following spring or fall. A well-maintained bed can produce for two to three years before needing a fresh top-dressing of chips and spawn.
Growing morels at home is possible but significantly more difficult and unpredictable than cultivating other mushroom species. Morels have a complex life cycle that scientists still do not fully understand, and reliable indoor cultivation has eluded even commercial producers for decades.
What you can try outdoors:
- Purchase morel spawn or a morel habitat kit from a reputable supplier
- Prepare a bed in a shady spot with well-drained, slightly alkaline soil
- Mix spawn into the top few inches of soil along with wood ash and decaying hardwood chips
- Keep the bed moist but not waterlogged through fall and winter
- Morels, if they appear, typically fruit in spring when soil temperatures reach 50 to 60 degrees Fahrenheit
Important expectations:
- Success rates are highly variable — many growers wait years with no results
- Morels have a mycorrhizal relationship with certain trees (elm, ash, tulip poplar), so planting near these species may improve odds
- Commercial morel cultivation exists but uses specialized controlled environments that are impractical for home growers
If you want a fun experiment with realistic expectations, try a morel bed. But if you want guaranteed harvests, start with oyster or wine cap mushrooms instead.
Growing mushrooms on a tree stump is an excellent way to turn a yard eyesore into a productive mushroom patch. Freshly cut stumps from hardwood trees like oak, maple, beech, or elm are ideal candidates. The stump provides a massive, long-lasting food source that can support mushroom production for many years.
How to inoculate a stump:
- Drill holes in a diamond pattern across the top and around the sides, about one inch deep and spaced four to six inches apart
- Fill each hole with plug spawn or sawdust spawn using an inoculation tool or your thumb
- Seal every hole with melted cheese wax or beeswax to lock in moisture
- Optionally, cut a shallow cross-hatch pattern into the top surface and pack additional spawn into the grooves
Best species for stump cultivation:
- Oyster mushrooms — fast colonizers that fruit quickly
- Shiitake — slower but long-lasting production
- Chicken of the woods — spectacular orange shelf mushrooms
- Reishi — medicinal species that thrives on hardwood stumps
Keep the stump shaded and water it during dry periods. Colonization takes six to eighteen months, but once established, a single stump can fruit for five to ten years. The stump slowly decomposes as the mycelium feeds, eventually breaking it down completely.
Mushrooms appearing in your houseplant pots are harmless and actually indicate healthy, organic-rich soil. The most common species is Leucocoprinus birnbaumii, a bright yellow mushroom often called the plantpot dapperling. It arrives as microscopic spores or mycelium already present in commercial potting mixes that contain composted bark or peat.
Why they appear:
- The warm, humid conditions inside your home create an ideal fruiting environment
- Potting soil rich in organic matter provides food for the mycelium
- Regular watering keeps the substrate at the moisture level fungi need to fruit
Should you worry?
- These mushrooms do not harm your plants — they are saprophytic, meaning they feed on dead organic matter in the soil, not living roots
- They are actually beneficial because they help break down organic material and make nutrients available to your plant
- Do not eat them — most houseplant mushrooms are mildly toxic or at minimum unidentified
If you want to remove them, simply pluck the mushrooms when they appear and reduce watering frequency. Repotting with fresh, sterile potting mix can also help. However, many plant enthusiasts leave them alone as a sign of a thriving soil ecosystem.
Absolutely — raised garden beds are an excellent environment for outdoor mushroom cultivation, and mushrooms can even be grown alongside vegetables and herbs as productive companions. The contained, well-mulched conditions of a raised bed provide consistent moisture and a defined growing area.
Best approaches for raised bed mushroom growing:
- Interplant with wine cap mushrooms — layer spawn between thick mulch layers around your vegetables. Wine caps thrive in the shaded, moist understory beneath taller plants
- Dedicate a full bed — fill with hardwood chips layered with spawn for a mushroom-only patch
- Bury spent indoor blocks — tuck spent grow kit blocks or monotub cakes into the bed under a few inches of mulch for surprise bonus flushes
Wine cap (king stropharia) is the best species for garden bed integration because it thrives in wood chip mulch, does not compete with plant roots, and actually benefits your garden by breaking down mulch into rich humus.
The bed should receive shade for at least part of the day and stay consistently moist. Avoid beds in full sun unless you can maintain a thick mulch layer to prevent drying. Spring inoculation gives the mycelium a full growing season to colonize before the first fall or spring fruiting.
Straw bale mushroom growing is a simple, low-cost method that works especially well for oyster mushrooms. The bale serves as both the substrate and the growing container, eliminating the need for buckets, bags, or tubs.
The process:
- Source a fresh straw bale — wheat or oat straw works best. Avoid hay, which contains seeds and extra nutrients that encourage contamination
- Soak the entire bale in water for one to two days, or pasteurize by pouring hot water (150 to 170 degrees Fahrenheit) over it repeatedly
- Once the bale is thoroughly wet and cooled, use a stick or dowel to poke deep holes throughout the bale spaced about six inches apart
- Pack grain spawn into each hole and push straw back over the openings
- Place the inoculated bale in a shady spot with good air circulation
Keep the bale moist by watering it during dry spells. Mushrooms will emerge from the sides, top, and ends of the bale within four to eight weeks during warm weather.
A single bale can produce several pounds of oyster mushrooms over two to three flushes. After it stops fruiting, the decomposed bale makes excellent garden compost. This method is perfect for gardeners who want a simple, disposable outdoor grow.
Early spring is the ideal season to start most outdoor mushroom patches because rising temperatures and increasing rainfall create perfect colonization conditions. Inoculating in spring gives the mycelium an entire growing season to establish itself before producing its first fruiting in late summer or fall.
Seasonal timing by method:
- Log inoculation — best done in late winter to early spring while trees are still dormant and logs contain maximum moisture and sugar reserves
- Wood chip beds — start in spring after the last hard frost so the mycelium can colonize through summer
- Straw bales — can be started spring through early fall in most climates
- Stump inoculation — spring is ideal but fall also works in mild climates
Avoid starting outdoor patches in midsummer when heat and low humidity stress the mycelium and promote contamination. Fall inoculation can work in warmer climates (zones 7 and above) where winter temperatures stay above freezing, allowing slow colonization through the cool months.
Regardless of timing, new outdoor patches need consistent moisture during their first season. Water them during dry spells just as you would a newly planted garden bed. Patience is essential — many outdoor patches take six to twelve months before their first mushroom appears.
Outdoor mushroom patches face threats from slugs, insects, rodents, and weather extremes, but simple protective measures can dramatically improve your harvest success. Prevention is much easier than treatment once problems take hold.
Pest management strategies:
- Slugs and snails — the biggest outdoor mushroom pest. Use copper tape barriers around beds, hand-pick at night, or set beer traps nearby
- Fungus gnats and flies — harvest mushrooms promptly before they attract insects. Cover developing clusters with breathable row cover fabric if infestations are heavy
- Squirrels and rodents — cover fruiting areas with hardware cloth or chicken wire cages that allow mushrooms to grow through but keep animals out
- Deer — fencing is the only reliable deterrent for persistent deer
Weather protection:
- Shade cloth prevents direct sun from drying out patches and overheating substrates
- Mulch layers insulate beds from temperature swings and retain moisture during heat waves
- Tarps or cold frames extend the season by protecting logs and beds from heavy frost
- Positioning near walls or under tree canopy provides natural wind and rain shelter
The most important protection is consistent moisture. A soaker hose on a timer keeps beds hydrated through dry spells without the need for daily manual watering.
Yes, log cultivation is one of the most rewarding and low-maintenance ways to grow mushrooms at home. A single inoculated hardwood log can produce flushes of gourmet mushrooms for 3-7 years with almost no ongoing work after the initial setup.
How to inoculate a log with plug spawn:
- Choose the right wood — oak, maple, beech, birch, and sweetgum are excellent choices. Avoid cedar, walnut, and softwoods, which contain natural antifungal compounds that inhibit mycelium growth
- Use freshly cut logs — harvest or source logs that were cut 2-6 weeks ago. Too fresh and the tree's natural defenses resist colonization; too old and wild fungi have already claimed the wood
- Log dimensions — aim for 10-20 cm diameter and 90-120 cm long. Larger logs take longer to colonize but produce for more years
- Drill a diamond pattern of holes spaced 10-15 cm apart, about 2.5 cm deep, using a 12 mm drill bit
- Insert plug spawn — tap one plug into each hole using a rubber mallet until the plug sits flush with the bark surface
- Seal with wax — brush melted food-grade cheese wax or beeswax over each plug to lock in moisture and prevent contamination entry
Best species for backyard log growing:
- Shiitake — the classic log mushroom, reliable and productive for 4-6 years per log
- Oyster mushrooms — fast colonizer, fruits within 6-12 months
- Lion's mane — beautiful cascading white fruiting bodies
- Nameko — small amber clusters popular in Japanese cuisine
Colonization takes 6-18 months depending on species, log diameter, and climate. Stack or lean inoculated logs in a shady spot with good air circulation — under a tree canopy or along a north-facing fence is ideal. Water logs during dry spells to maintain moisture.
Wine cap (Stropharia rugosoannulata) is the dominant species for intentional wood chip cultivation, but several other edible mushrooms can appear naturally in established wood chip beds and garden paths.
Species that thrive in wood chip beds:
- Wine cap (king stropharia) — the best choice for deliberate cultivation. Burgundy-red caps up to 30 cm across, mild potato-like flavor, thrives in 15-25°C conditions. Inoculate by mixing sawdust spawn into a 10-15 cm deep bed of fresh hardwood chips at a 10-15% spawn rate. Fruits within 2-4 months and can produce for 2-4 years
- Oyster mushrooms — Pleurotus ostreatus strains will colonize wood chip beds, especially if inoculated with spawn. Blue and pearl oyster are the hardiest for outdoor cultivation in temperate climates
- Shaggy mane (Coprinus comatus) — tall, white, cylindrical mushrooms that appear spontaneously in disturbed ground, wood chip mulch, and gravel paths. Delicious but must be eaten within hours of harvest before they dissolve into black ink
- Field mushroom (Agaricus campestris) — white-capped mushrooms with pink-to-brown gills that occasionally colonize wood chip beds rich in organic matter, especially where grass clippings have been mixed in
Encouraging mushrooms in garden paths:
- Use fresh, untreated hardwood chips — avoid dyed, chemically treated, or cedar-based mulch
- Maintain consistent moisture — water paths during dry spells as you would a garden bed
- Replenish chips annually — add a fresh 5 cm layer each spring to provide new food for the mycelium network
- Avoid foot traffic on fruiting areas — place stepping stones through the bed so mushrooms can emerge undisturbed along the edges
Wine cap is by far the most reliable species for intentional garden path cultivation. Other species may appear as welcome bonuses, but always positively identify any mushroom before eating it — never consume a wild mushroom based on where it is growing alone.
Need more help? Dr. Myco can answer follow-up questions about outdoor & garden growing based on thousands of real growing experiences.
Ask Dr. Myco